AI Kitchen Remodel Visualizer: See Cabinet, Floor, and Color Ideas
An AI kitchen remodel visualizer is most useful before the expensive decisions start: cabinet refacing or replacement, flooring, countertop direction, backsplash tone, wall color, hardware, and lighting temperature. Kitchen materials are difficult to judge from samples alone because each finish changes how the others feel. A cabinet color that looks calm on a door sample can turn flat under warm bulbs. A floor that looks natural in a showroom can fight with an existing countertop. A white backsplash can feel crisp, gray, yellow, or sterile depending on the surrounding palette.
For remodelers and homeowners, the goal is not to let an image generator “design the kitchen” in one click. The goal is to reduce risk before ordering materials, hiring trades, or locking a scope. A visualizer can turn a real kitchen photo into controlled finish studies so everyone can see what might happen if the lowers go navy, the uppers stay white, the floor shifts to oak, or the walls move from beige to a clean warm white.
RedesAIgn supports this early decision stage with 10 AI editors, prompts, remix, reference images, saved prompts, and history. You can start with 5 free AI credits, no credit card required, then use one-time credit packs only if extra rounds are worth it. That makes it practical to test a kitchen palette before buying boxes of tile, scheduling cabinet work, or arguing over tiny paint chips at the dining table.
Start with the remodel decision, not the trend
A good kitchen visualization begins with a specific decision. “Make this kitchen modern” is too vague. It may change the cabinets, replace the floor, add a waterfall island, invent new windows, and ignore the budget. Instead, define what is actually on the table. Are you painting existing cabinets? Replacing cabinet doors? Keeping the countertop? Testing floor colors? Choosing between white, greige, sage, and charcoal? Trying to decide whether black hardware makes the kitchen feel sharper or too heavy?
Before uploading a photo, list the fixed elements. In many remodels, the layout stays because moving plumbing, gas, ducting, electrical, and walls changes the budget. The visualizer should preserve cabinet locations, appliance positions, island shape, window openings, ceiling height, and major trim unless the exercise is specifically about a larger renovation. If the stone countertop is staying, say so. If the floor runs through adjoining rooms and cannot be replaced, say that too.
This constraint-first approach helps the image act like a decision tool. The most useful output is not the most dramatic transformation. It is the version that shows whether a realistic cabinet, floor, and color combination works in your actual room. If you also want broader room-photo workflows, compare this process with AI interior design from photo, which is better for whole-room style studies.
Take a photo that preserves the kitchen’s real constraints
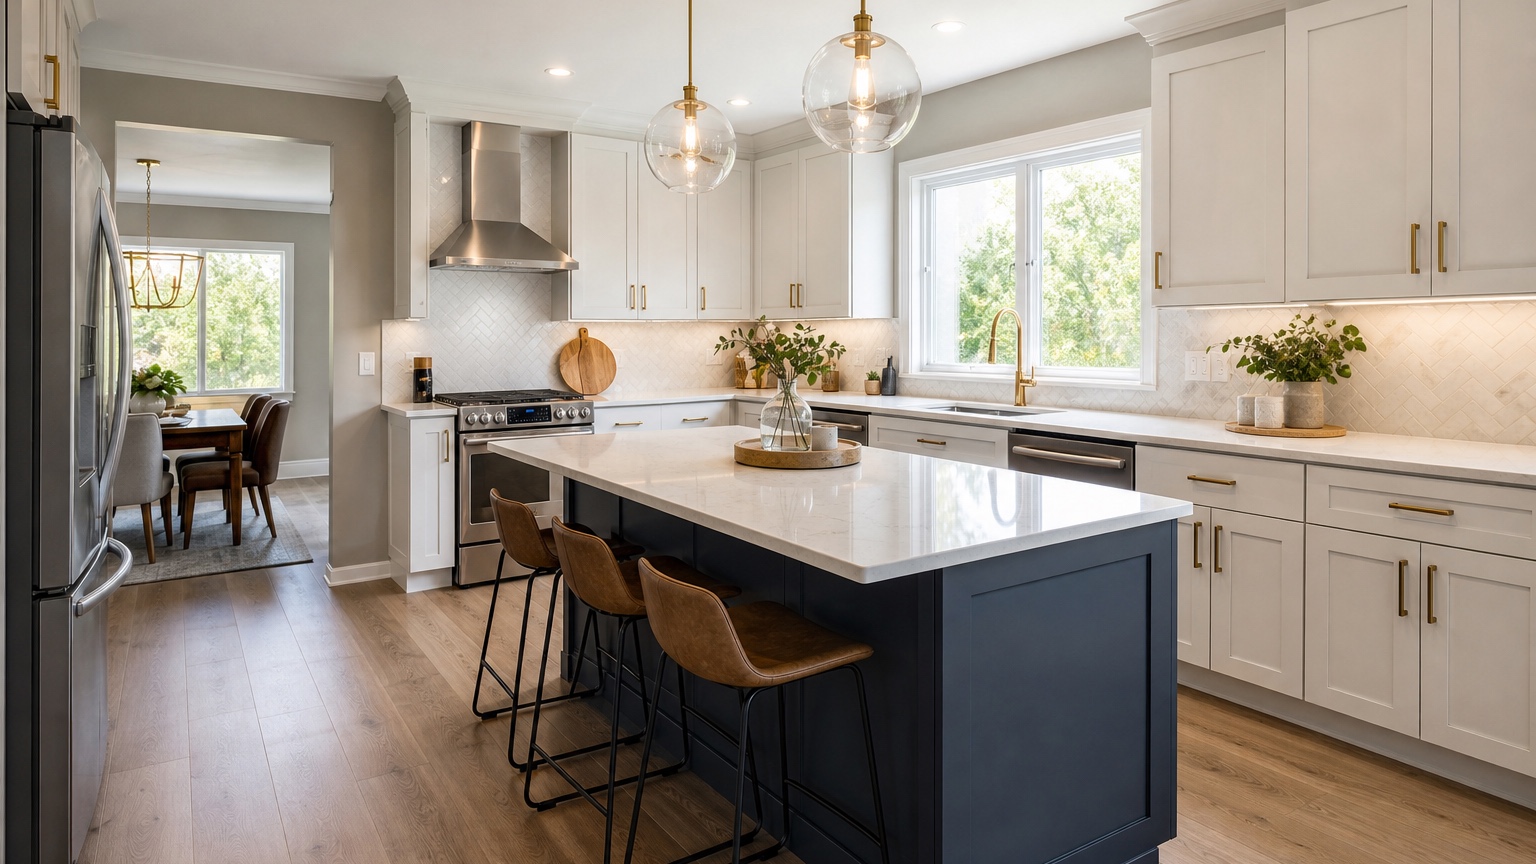
The source photo matters. Use a wide daylight photo from a corner or doorway so the image includes cabinet runs, floor area, counters, backsplash, appliances, windows, lighting, and adjacent wall color. Turn on the main lights if that is how the kitchen is normally used, but avoid strong evening color casts if you are judging paint and cabinet tones. Clean surfaces enough to expose the design conditions; you do not need a staged magazine kitchen, but clutter can confuse finish boundaries.
If you have a galley, shoot from the end so both cabinet walls are visible. If you have an L-shaped kitchen, capture the corner and the longest run. For an island kitchen, include the island face and the perimeter cabinets in the same view. Take a second photo from the opposite side for your own review, but prompt one image at a time. Trying to combine every angle into one request often creates a beautiful image that no longer matches the real kitchen.
Note anything the visualizer cannot infer. For example: “The existing quartz countertop stays,” “the refrigerator is stainless and must remain,” “the floor continues into the dining room,” “the backsplash can change,” or “the cabinet boxes stay but doors may be painted.” These details are not boring. They are the difference between fantasy and a remodel direction you can price.
Compare cabinet finishes in controlled sets
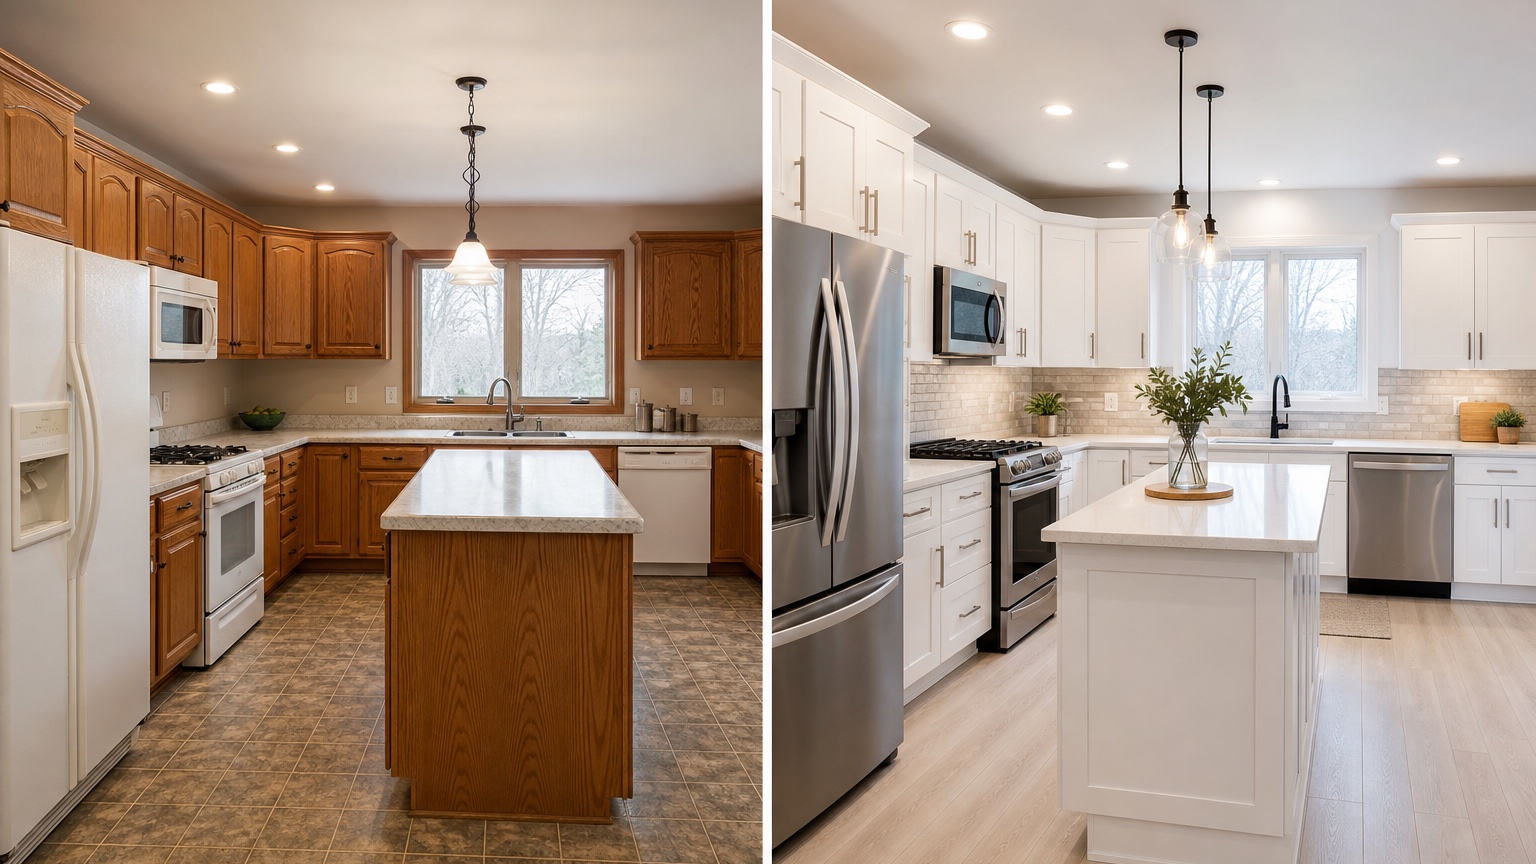
Cabinets dominate a kitchen visually, so test them before obsessing over hardware or faucet finish. Start with three or four finish families rather than ten unrelated colors. For example, compare warm white, soft mushroom, muted sage, and deep blue while keeping the countertop, floor, and backsplash consistent. If every option changes everything at once, you will not know whether you prefer the cabinet color or the whole scene.
A useful prompt might be: “Use this kitchen photo to preview a practical remodel. Preserve the layout, windows, appliances, countertop shape, and cabinet locations. Show the cabinets in a warm white painted finish, keep the existing stainless appliances, use a light oak-look floor, simple off-white backsplash tile, brushed nickel hardware, and soft warm white walls. Keep the result realistic for a homeowner remodel, not a luxury new build.”
Then remix the same prompt with only the cabinet color changed: “same kitchen, same layout, same floor, same backsplash, same walls, but change the cabinets to muted sage green.” Save the prompt wording that keeps the layout stable. In RedesAIgn, saved prompts and history are especially helpful here because you can return to the version that respected your room before testing a new material combination.
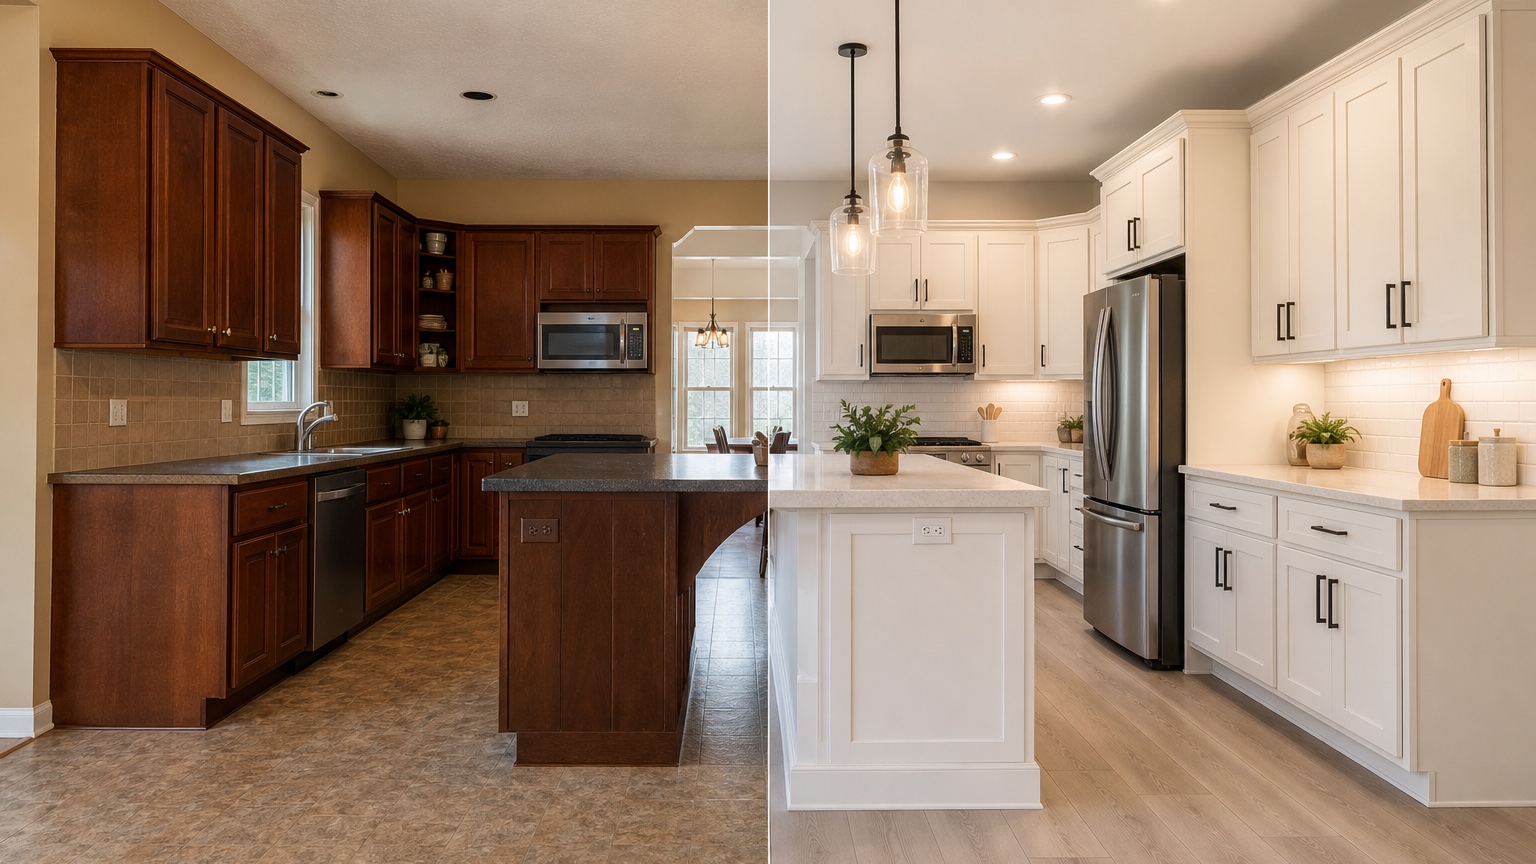
For two-tone kitchens, specify placement. “Navy lower cabinets and white upper cabinets” is more useful than “two-tone cabinets.” If the island is the accent, say “keep perimeter cabinets warm white and make only the island a deep walnut stain.” If the kitchen is small, test whether darker lowers make it feel grounded or cramped. If there is limited natural light, compare the darker option against a lighter wall color before deciding it is too bold.
Use flooring tests to protect the whole-house palette
Flooring mistakes are expensive because they cover a large area and often connect multiple rooms. An AI kitchen remodel visualizer can help compare whether light oak, medium oak, natural stone-look tile, checkerboard, slate, or warm luxury vinyl plank supports the cabinets and existing architecture. It cannot verify product durability, subfloor conditions, installation details, or slip resistance, but it can reveal obvious palette conflicts early.
When testing floors, tell the prompt what should happen at the edges. If the floor continues into a living room, do not ask for a kitchen-only floor change unless that is realistic. If the kitchen has a threshold, you can test a different tile. If you are keeping the floor, say “preserve the existing floor exactly” and focus on cabinets, walls, and backsplash instead. This prevents the visualizer from improving the room by silently replacing a material that is not in scope.
A controlled floor prompt could read: “Keep the cabinet layout, appliance positions, counters, backsplash, and wall color unchanged. Compare the kitchen with a light natural oak floor that continues evenly through the visible adjacent space. Keep plank scale realistic, avoid glossy reflections, and do not add new furniture or architectural changes.” Remix it for medium oak, warm limestone-look tile, or a simple black-and-white checker pattern.
If flooring is your central decision, a narrower guide such as AI flooring visualizer can help you think through plank direction, transitions, and material realism. For a kitchen, always judge the floor against cabinet undertones. Orange oak next to creamy cabinets, cool gray tile under warm stone, or black flooring in a low-light room may look worse at full scale than on a sample board.
Test wall color and backsplash after cabinets and floors
Wall color usually has less surface area than cabinets and floors, but it affects how the kitchen reads in daily light. A warm white can make creamy cabinets feel intentional. A cool white can make them look yellow. A muted beige may calm a busy stone countertop, while a sharper white may make the same counter feel high contrast. AI visualization is useful because it shows the wall color beside actual windows, shadows, and fixed finishes.
Backsplash choices deserve the same controlled process. Do not test handmade zellige, marble slab, vertical stacked tile, square tile, and patterned cement tile while also changing the cabinets, floors, lights, and hardware. First decide the cabinet and floor direction. Then test backsplash scale, color, and pattern. Keep grout visible enough to judge rhythm. If the prompt removes outlets, under-cabinet lights, or range controls, treat the image as a mood study rather than a construction reference.
For paint-focused exploration, you can also use AI wall color visualizer interior to isolate wall choices. In a kitchen, however, paint rarely stands alone. Ask for “same cabinets and floor, change only the wall color to a soft warm white,” then remix to “pale greige,” “very light sage-gray,” or “clean off-white with no blue undertone.” This keeps the decision grounded.
Build a simple comparison board before buying materials
After generating options, make a short comparison board. Include the original photo, two or three best visualized directions, and a notes column for what changed. Label each option by decision, not by vibe: “warm white cabinets + light oak floor,” “sage cabinets + existing floor,” “walnut island + white perimeter,” or “medium oak floor + creamy backsplash.” This keeps the conversation practical.
Review each option with five questions. First, what must be purchased or hired for this look? Second, what existing elements are preserved? Third, which material has the biggest budget impact? Fourth, what could go wrong if the real sample differs from the image? Fifth, which decision should be confirmed with physical samples before ordering? The image helps narrow choices; samples, measurements, contractor review, and product specifications still matter.
For remodelers, this board can make client meetings faster. Instead of discussing “light, warm, but not too yellow” for twenty minutes, show three controlled versions and ask which direction feels closest. For homeowners, it reduces second-guessing. You can see whether the bold cabinet color is worth pursuing or whether the safer neutral actually supports the floor and countertop better.
Prompt recipes for common kitchen remodel scenarios
For cabinet painting with existing counters: “Create a realistic kitchen remodel preview from this photo. Preserve the layout, appliances, countertop, floor, windows, and lighting locations. Change only the cabinet finish to a soft mushroom painted color, update hardware to simple brushed brass pulls, and keep the backsplash quiet and light. Do not change the island size or add new windows.”
For flooring selection: “Use this kitchen photo to compare a new floor while preserving cabinets, counters, appliances, backsplash, and wall color. Show a matte light oak-look plank floor running in the same direction through the visible space. Keep plank scale believable and avoid changing the cabinet color.”
For a full finish refresh without layout changes: “Preview a practical no-layout-change kitchen remodel. Preserve cabinet locations, appliance positions, windows, ceiling, island shape, and countertop thickness. Show warm white upper cabinets, deep green lower cabinets, a simple off-white vertical tile backsplash, light natural oak flooring, matte black hardware, and warm white walls. Keep the remodel achievable without moving plumbing or walls.”
For testing a reference image: “Use the reference image only for cabinet color and backsplash mood. Apply it to the uploaded kitchen photo while preserving layout, appliances, window placement, floor continuity, and counter shape. Do not copy the reference kitchen layout.” Reference images are powerful when they have a narrow job. They are risky when they overwrite the room you actually own.
Where RedesAIgn fits in the decision process
RedesAIgn is best used while the remodel is still flexible enough to compare. Upload the kitchen photo, write a constraint-aware prompt, use remix to change one variable at a time, and save prompts that keep the layout realistic. The 10 AI editors can support different visual editing needs, while history helps you return to a better earlier version if a later image drifts into fantasy.
Start with the included 5 free AI credits and no credit card requirement if you only need a small set of cabinet, floor, and color tests. If you are preparing more options for a client, spouse, contractor discussion, or product shortlist, one-time credit packs let you continue without committing to a subscription. The practical value is clearer decisions before money is spent: fewer wrong samples, fewer rushed material orders, and fewer remodel conversations based only on imagination.
FAQ: AI kitchen remodel visualizer
What is an AI kitchen remodel visualizer?
An AI kitchen remodel visualizer uses a kitchen photo and prompt to preview cabinet finishes, floors, wall colors, backsplash ideas, hardware direction, and overall remodel concepts before materials are purchased or work begins.
Can it choose exact products for my kitchen remodel?
No. It can help narrow visual direction, but it does not confirm exact paint formulas, tile sizes, flooring performance, measurements, installation conditions, code requirements, product availability, or contractor pricing. Use it alongside samples and professional review.
How do I get the most realistic kitchen results?
Use a clear daylight photo, name the fixed elements, keep the layout realistic, and change one major finish at a time. Save the prompt that preserves your room, then remix cabinet, floor, backsplash, and wall color options in controlled rounds.